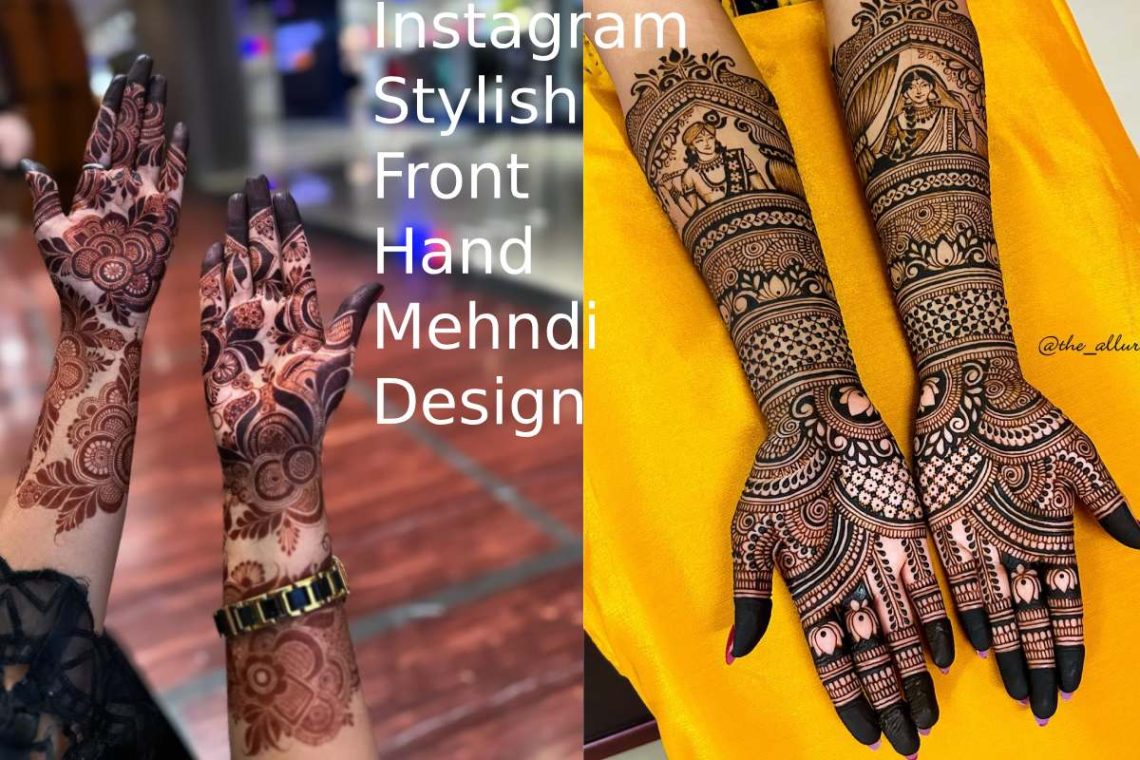
Front Hand Mehndi Design Simple And Beautiful has been an integral part of traditional celebrations and rituals, adding an exquisite touch to the beauty of hands. Let’s delve into the captivating world of Instagram Stylish Front Hand Mehndi Design and unravel the beauty and elegance they bring.
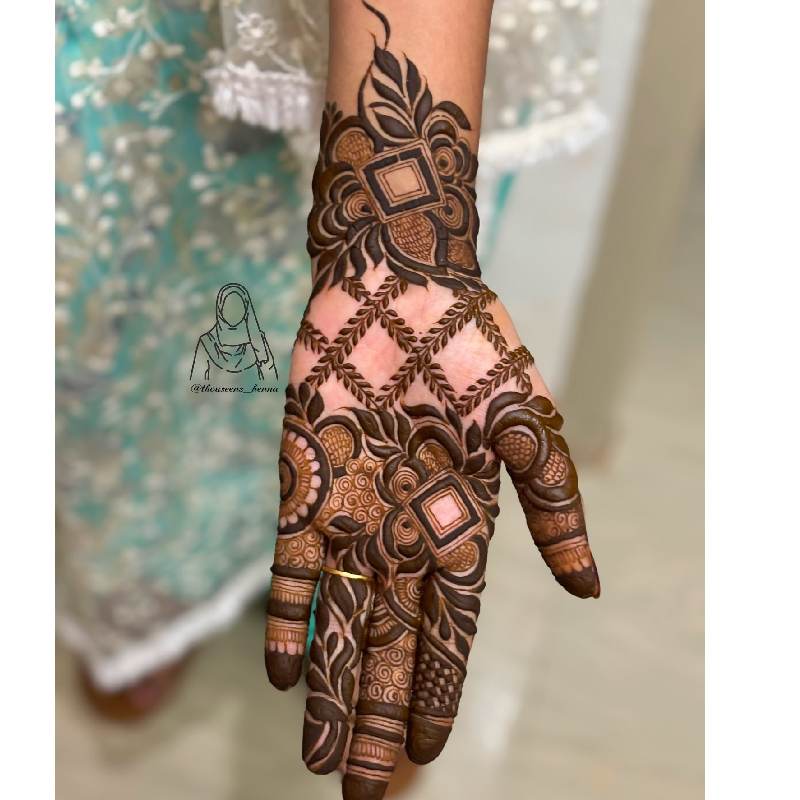
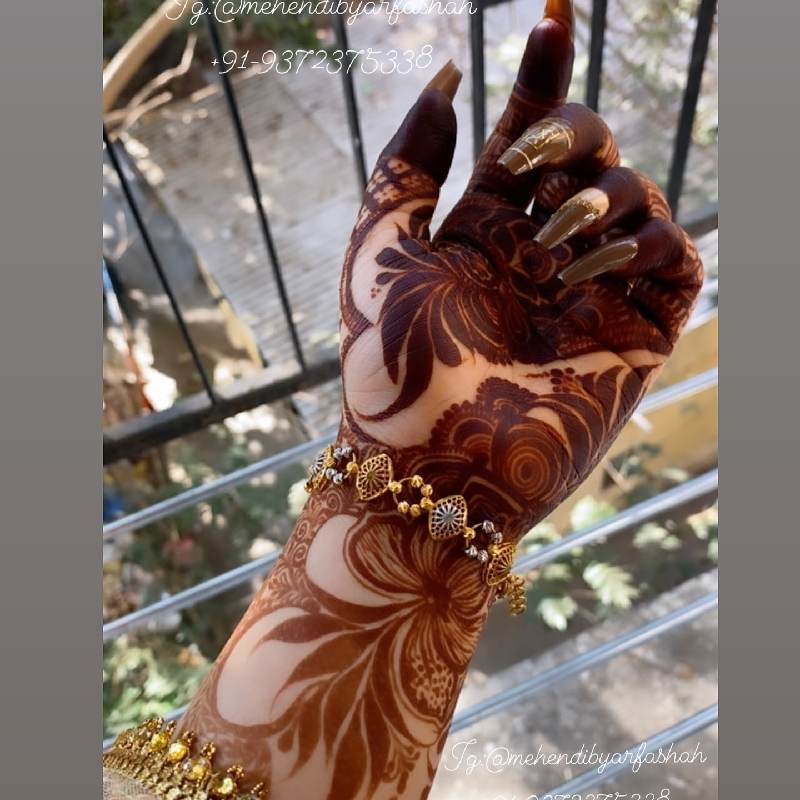
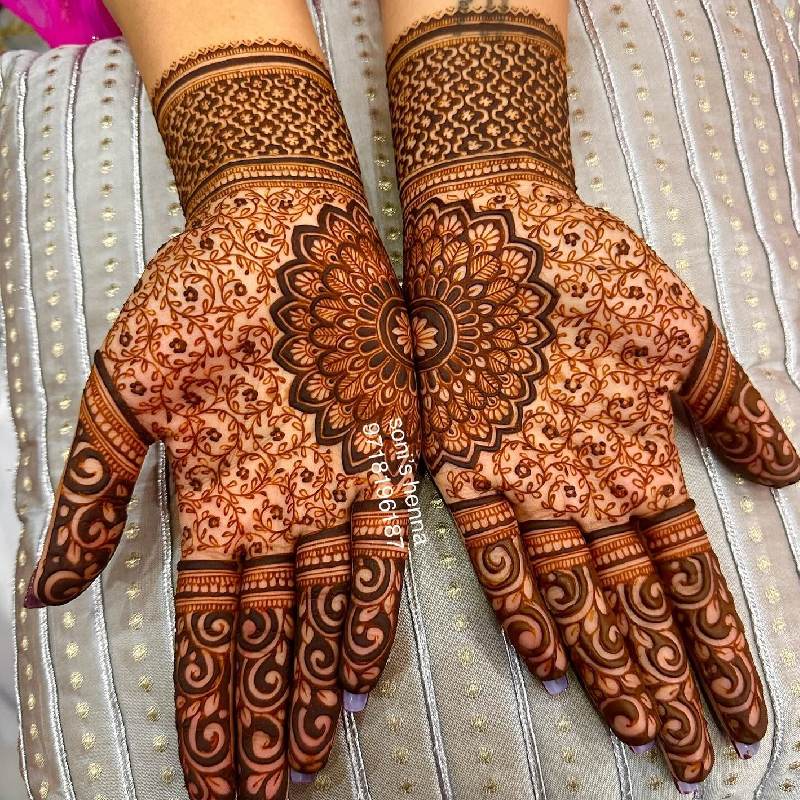
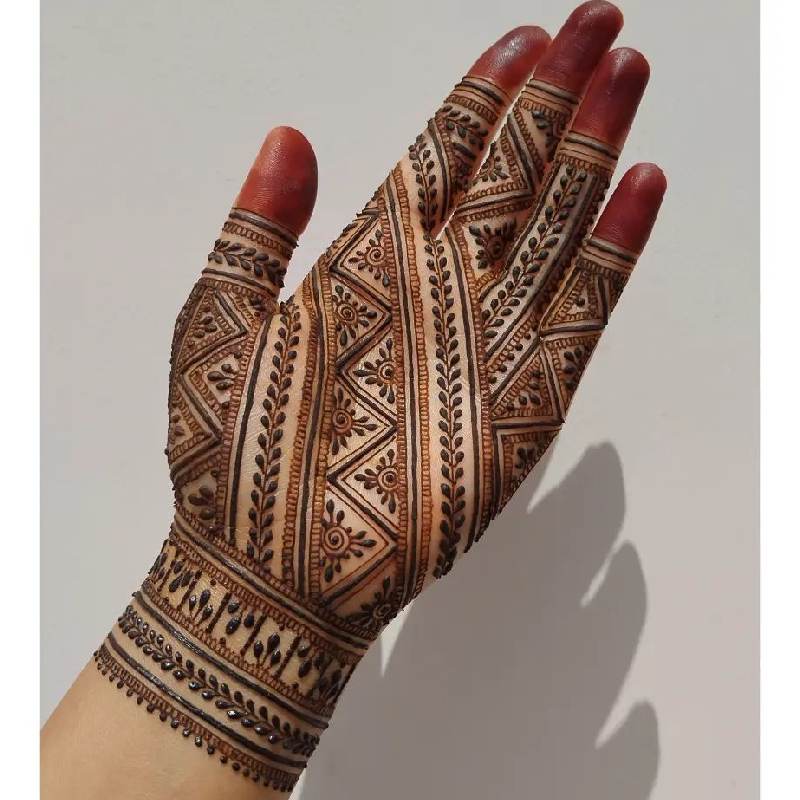
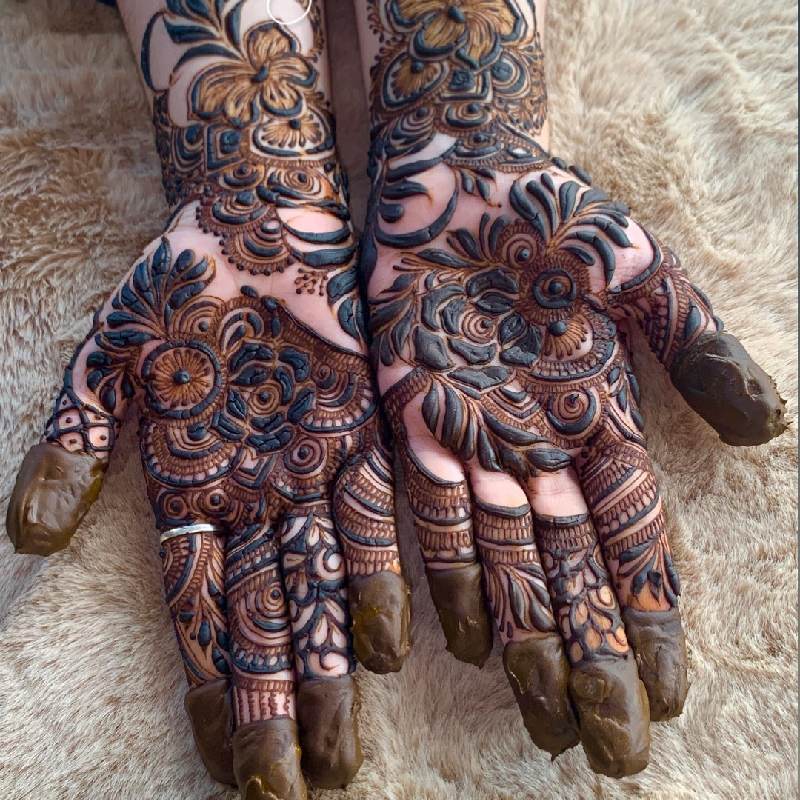
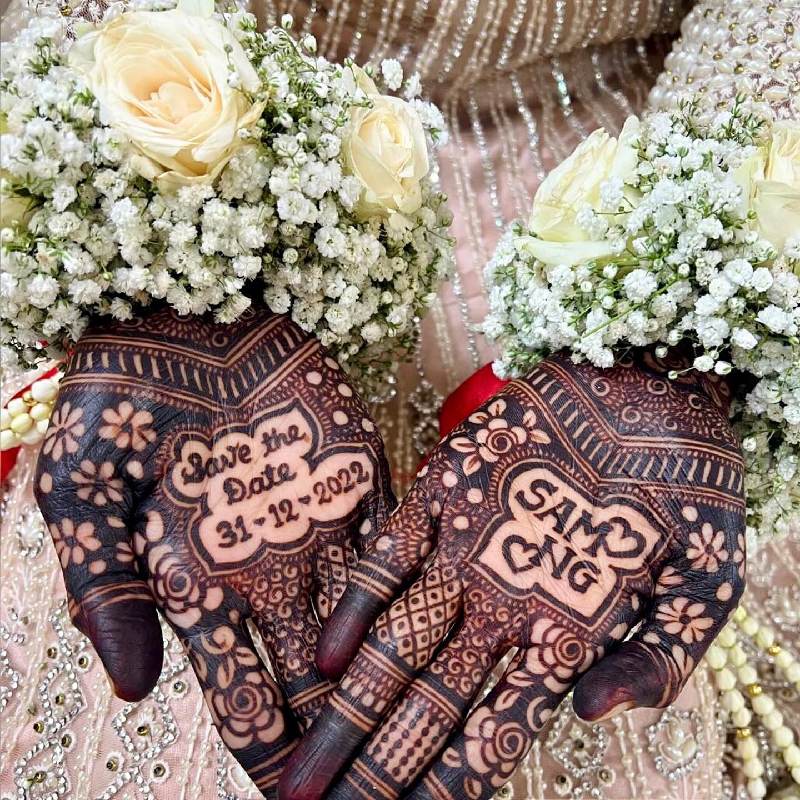
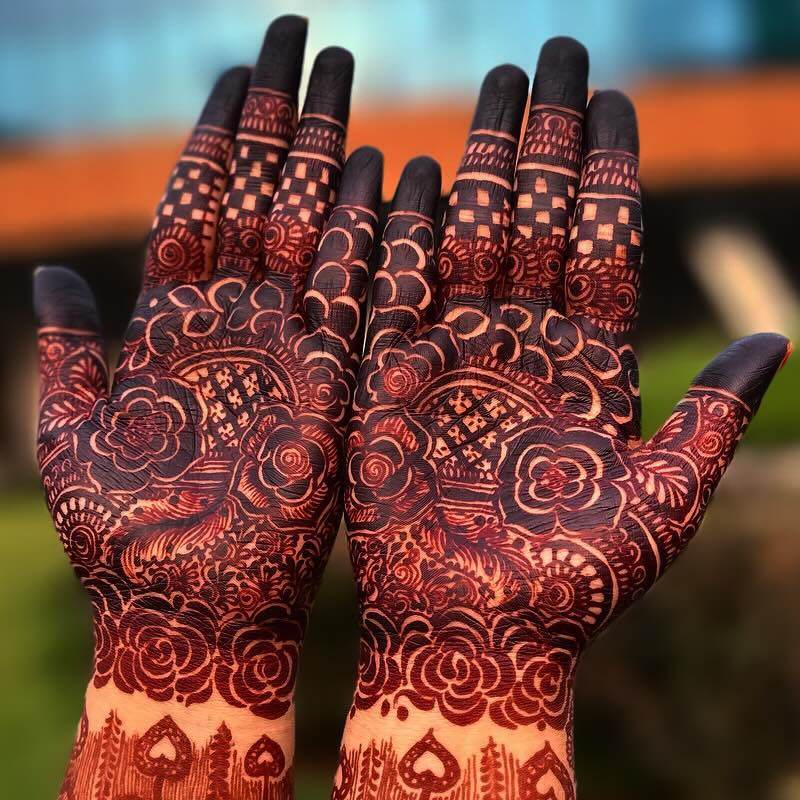
Beautiful Instagram Stylish Front Hand Mehndi Design
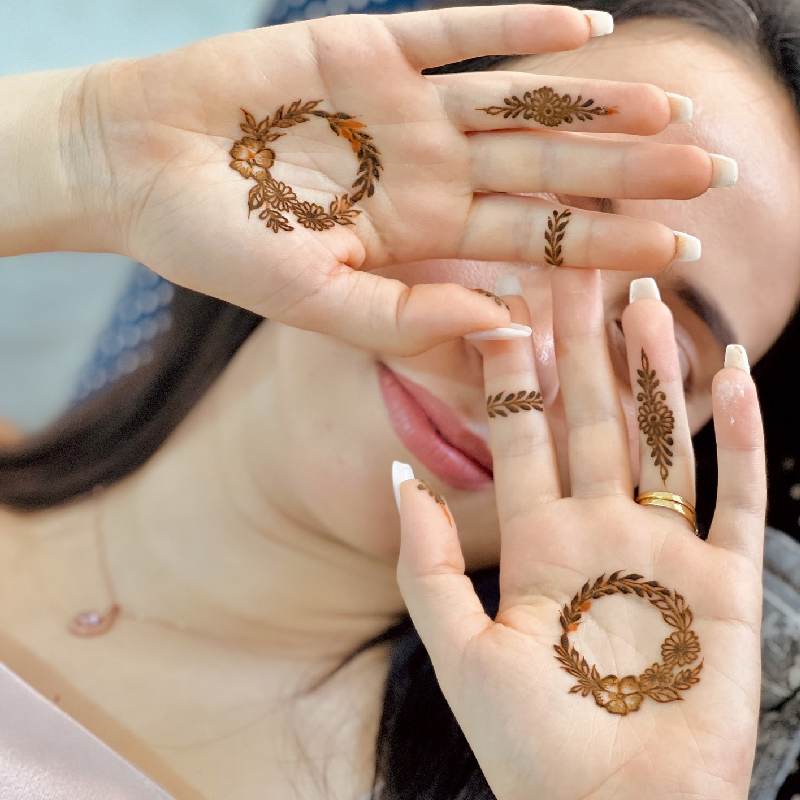
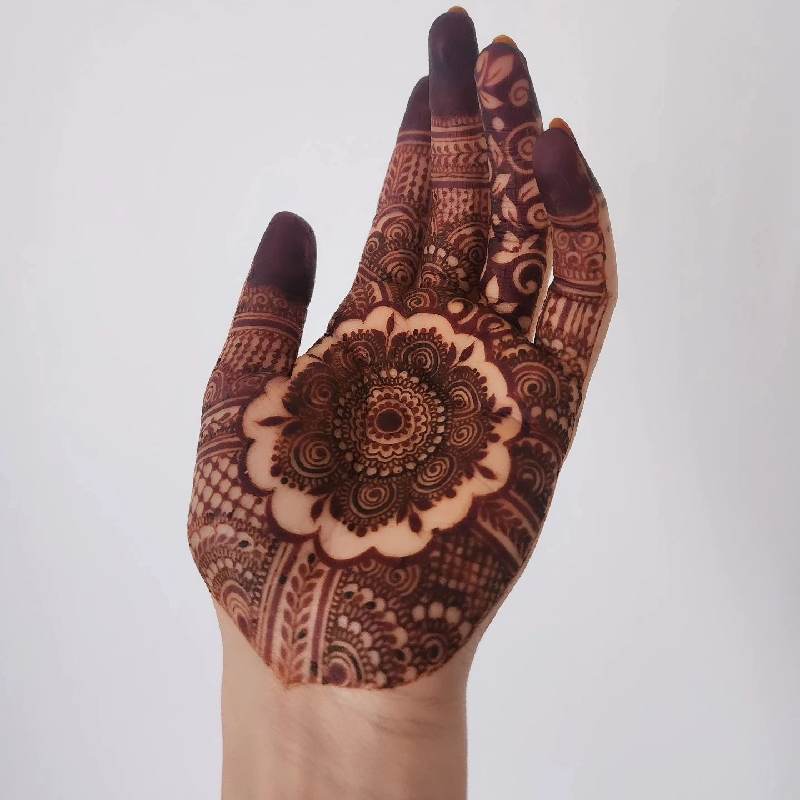
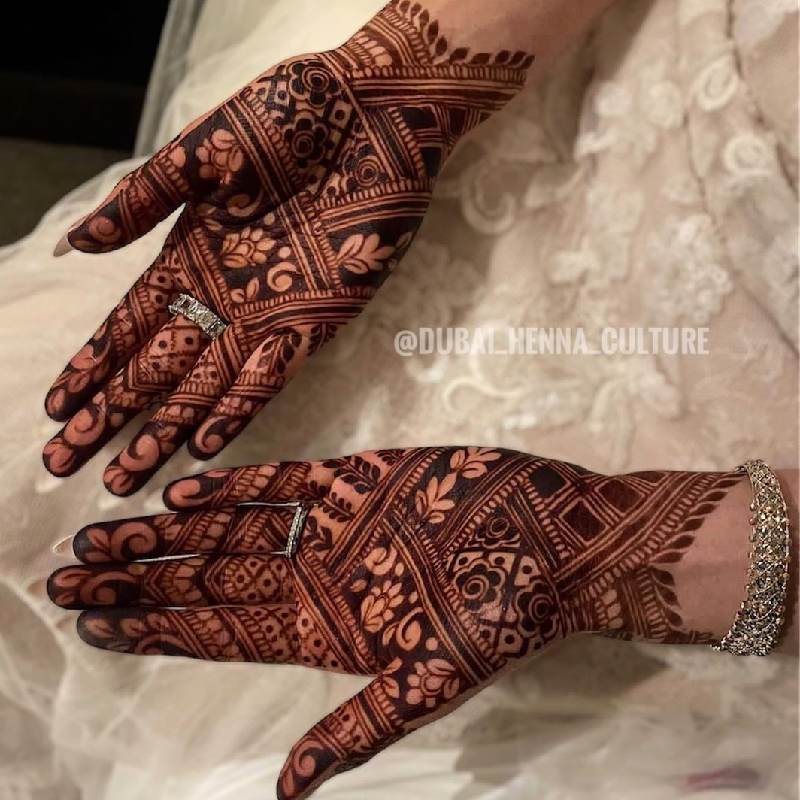
Instagram Stylish Front Hand Mehndi Design offers a plethora of choices to choose from, catering to diverse preferences and tastes. There’s something for everyone, from traditional motifs enthused by nature to contemporary abstract patterns. The choices are endless, whether you prefer classic Arabic designs or modern fusion patterns.

How To Apply Stylish Front Hand Mehndi Design?
Mehndi application is an old quality that adds social lavishness and magnificence to different festivals. Among the dissimilar material regions for Mehndi, the Stylish Front Hand Mehndi stands apart for its permeability and style. In this aide, we’ll examine the bit-by-bit course on applying mehndi design to the front hand.
Things Required for a Stylish Front Hand Mehndi Design
- Mehndi Cone – A fine-tipped cone filled with henna paste for precise application.
- Lemon-Sugar Mixture – A mixture of lemon juice and sugar is applied over dried mehndi to enhance color.
- Cotton Balls – Apply the lemon-sugar mixture evenly over the design.
- Tissue Paper/Cloth – To wipe off any excess mehndi or to clean hands during application.
- Toothpick or Pin – This is used to correct minor mistakes or to detail intricate patterns.
- Design Stencils (Optional) – Ready-made stencils to help create intricate designs easily.
- Essential Oils (like Eucalyptus or Clove) – To darken the mehndi color, apply after the mehndi dries.
- Plastic Wrap or Foil (Optional) – To cover the mehndi design and protect it while it dries.
- Moisturizer or Coconut Oil – Apply after removing dried mehndi to moisturize the design.
- Reference Design Book or Image – To follow or inspire your design.
Steps for Applying a Stylish Front Hand Mehndi Design
Clean Hands
Wash hands thoroughly to remove any dirt or oil, ensuring a clean surface for the mehndi.
Prepare Mehndi Cone
Cut the tip of the mehndi cone to your desired thickness for delicate or bold lines.
Start with the Outline
Begin by outlining the main design elements, such as flowers, paisleys, or geometric patterns.
Fill in the Details
Add intricate details within the outlined shapes using fine lines, dots, and patterns.
Enhance the Design
Additional elements like swirls, leaves, or shading enhance the overall design.
Apply Lemon-Sugar Mixture
Once the mehndi is partially dry, gently apply the lemon-sugar mixture using a cotton ball to intensify the color.
Let it Dry Completely.
Allow the mehndi to dry thoroughly on your hand for several hours, preferably overnight, without washing.
Remove the Dried Mehndi
Gently scrape off the dried mehndi paste using a tissue or cloth, avoiding water.
Apply Essential Oils
Apply some drops of essential oil, like eucalyptus or clove, to darken the stain.
Avoid Water Exposure
Avoid washing hands for at least 12 hours to allow the mehndi color to deepen.
Conclusion
Creating a stylish front-hand mehndi design is a blend of artistry and patience. You can get a beautiful and intricate design by following the steps carefully—from preparing your hands to applying the final touches.